
Problem
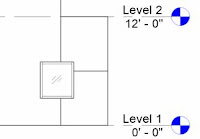
Sometimes an elevation needs a little tweaking to look 100% correct. Revit will show too much information sometimes, and we need to tone down the amount. For instance, these walls are all the same exterior finish, so they should show as one continuous material.
Solution
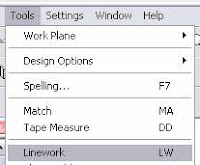
Use the linework tool to edit the way lines look. We just need to hide the common edges of these walls. Run the command and the first thing you should set is the lineweight you want to use.
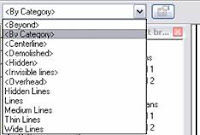
This will give you the option of selecting any of line types that we already have loaded into our drawing. It also has several predefined settings for specific types. The one I want is in brackets < > and says Invisible lines.
Now I just hover over the line I want to hide and click on it. Use TAB to cycle through elements if needed.

Because there are two walls at this location, I have to select the edge for each one, which requires two clicks to completely hide the line.
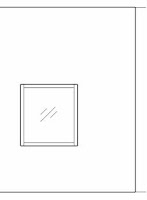
Now my elevation looks the way I want it to. This technique will work for any of your drawings that have more information showing that you need to hide. It will also work the opposite way if you want a line to show up bolder than it normally will.
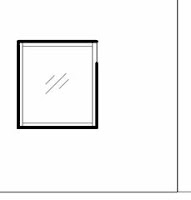
Or you can use it to show something as dashed.
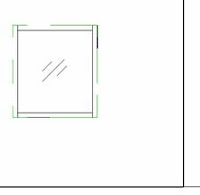
The key point is that you are still working with modeled elements in your project. You don't need to draw filled regions to hide elements or linework. It also means that if anything shifts or changes in the drawing, it will require less work on your part to show it clearly.
Just remember Revit is here to help you move away from 2d drafting and into the BIM revolution!
No comments:
Post a Comment