With as large as some of these buildings get, it is always good to reduce the amount of information in your Revit file, especially when you don't need it.
Problem
Using old files to start a new project creates a lot of unnecessary components and information that you may not need.

Solution
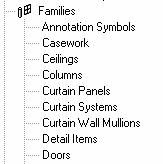
Remove the offending information with your project browser. Simply scroll from sheets all the way down to the bottom of the list. You should see a heading labeled Families.

If you expand this out you can see the individual elements that make up the components of your project.

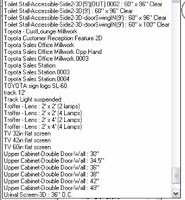
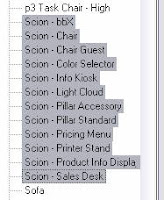
I have highlighted the Toyota elements, and since this isn't a Toyota dealership, I am going to remove them. Right click on the highlighted elements and select Delete.

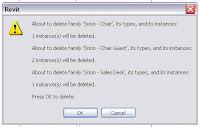
Oh no! I got the following error. This means that someone has used these pieces in the model. I can choose to remove them without regard, or find them and replace them with the appropriate piece.

Careful though, Revit might not do this with all elements of the model. So far, I have seen that it does warn me when I try to remove something that exists in the project. Also, remember that some elements are harder to add to a model than others. Walls, for example, need to be created in the model or transferred from another project.
No comments:
Post a Comment